

Building your Logidex form
The form Logidex hosts for you: writing the questions, sending each answer to the right place on the Event Card, and putting it on your website.
You have two possible ways for a client to request a booking, and they have names worth keeping straight.
- Your Logidex form is the one Logidex hosts and you build here.
- An outside form is one you already have, in Wix or Squarespace or JotForm, that you connect instead.
This article is the first one. If you already have a form you like, connect it instead and leave it exactly as it is. You can also run both.
Where it lives
Customize → Booking Form.
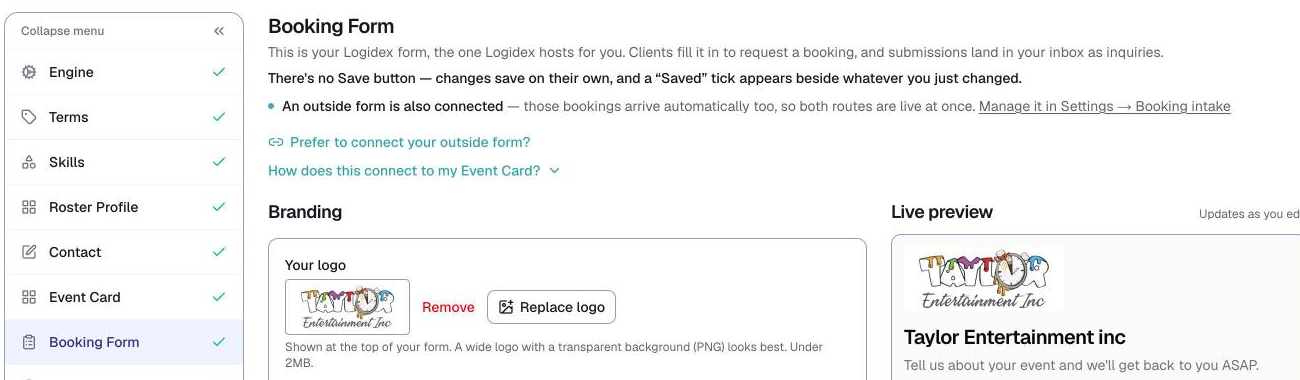
There is no Save button. Changes save on their own, and a Saved tick appears beside whatever you just changed.
Branding
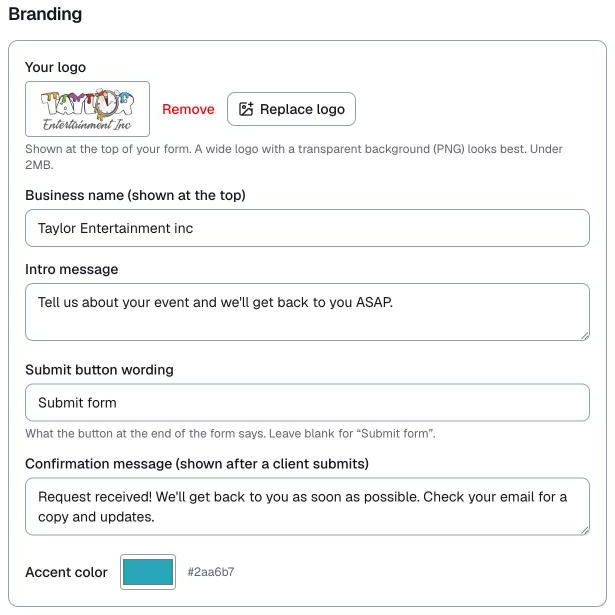
The first section is how the form looks to a client: your logo, your business name, an intro line, the wording on the submit button, the message they see after sending, and an accent color.
Your form, in order
The next section is the form itself. Everything in it appears top to bottom exactly as listed.
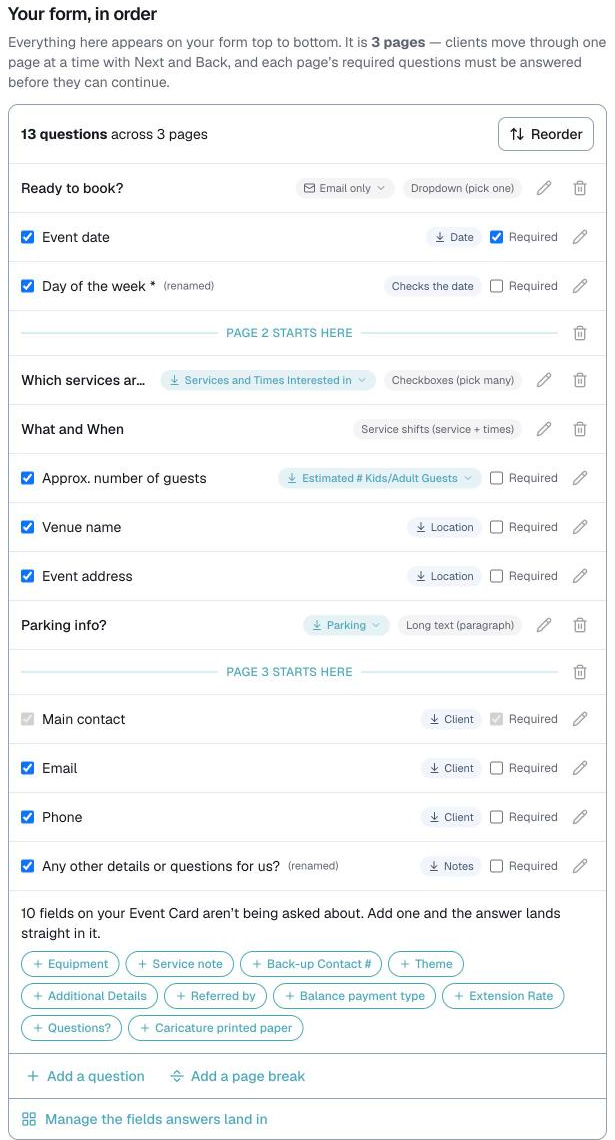
Each question row carries four things:
- A Required checkbox
- A pill saying *Goes to something on the Event Card*
- The question type
- A pencil to edit it, and a trash can to remove it
The "goes to" pill is the important one
This is the part that does the real work, and it is the one people skim past.
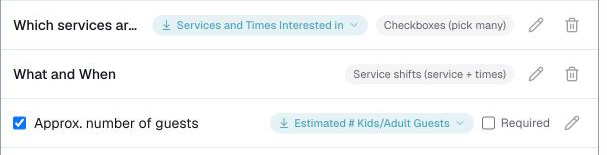
Every question has a destination. When a client answers it, the answer lands in that field on the booking's Event Card, already filled in, rather than sitting in a note for you to copy out by hand.
Tap the pill to send an answer somewhere else.
⭐ A question with no destination lands in the booking notes. That is not broken, it is just the fallback. It works fine for "anything else we should know", and badly for a guest count you wanted in the guest count field.
Questions you have not thought to ask
If a field exists on your Event Card that no question feeds, a line appears in the list saying so, with a chip for each one.
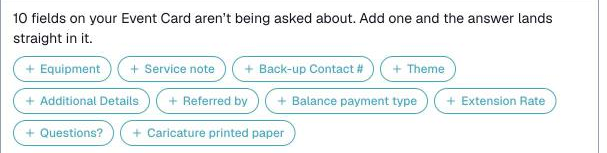
Click a chip and Logidex writes the question for you, already pointed at that field. The chip then disappears from the list, because it is no longer unasked.
Adding your own
Add a question at the bottom of the list creates a blank row. Add a page break splits the form into pages.

If the field you want does not exist yet
At the foot of the same section there is a link through to your Event Card, where you create the field first. Then come back here and it appears as a chip.
The receipt your client gets
Further down, you can set what is emailed back to a client after they submit.

⚠️ Check the reply address. If a client hits reply on their receipt and there is no address set, their reply reaches nobody. The screen tells you when that is the case.
Sharing it
The last section, Share your form, has two options.
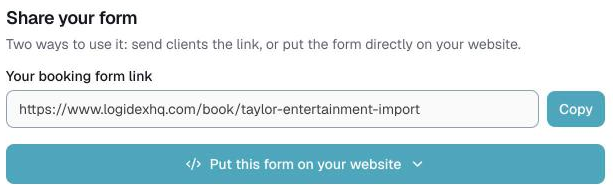
- Your booking form link. Copy it and send it to clients, put it in your email signature, or link it from social media.
- Put this form on your website. This gives you a block of code to paste into your own site where you want the form to appear.
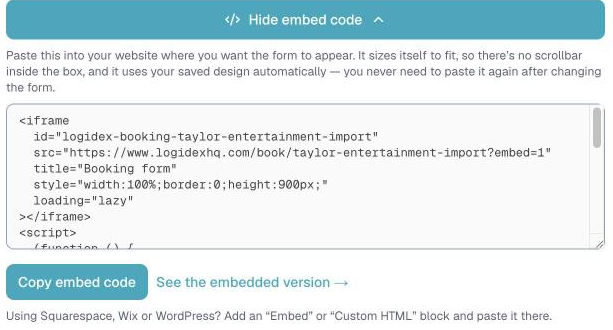
⭐ You never have to paste the embed code twice. It sizes itself to fit, and it always shows your current form, so changing a question here updates your website with no further work.
Where submissions go
Into your dashboard as inquiries, the same as anything else. From there you turn one into a booking and staff it as normal.
Last updated